WordPress
Installing the plugin
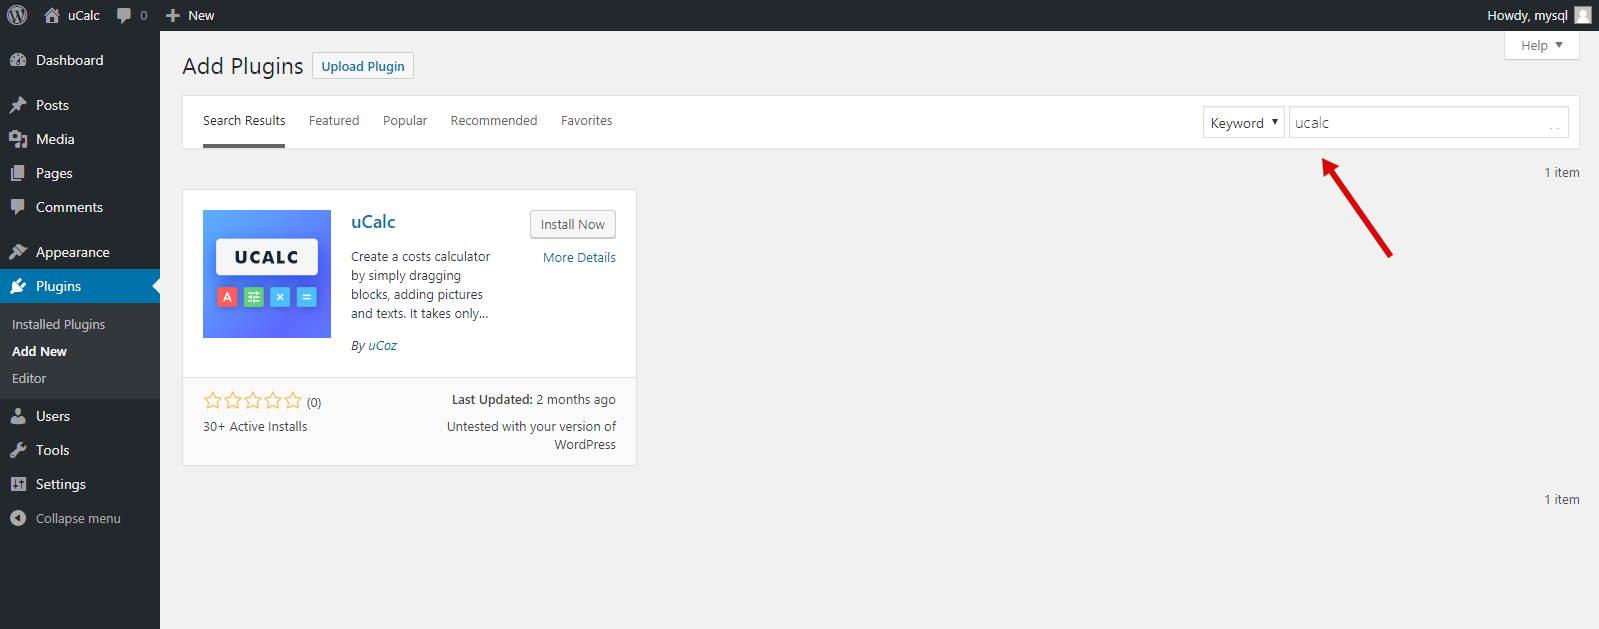
In the WordPress control panel, go to the Plugins tab and search for uCalc:

Install and activate the plugin.
If you couldn't find the uCalc plugin for some reason, download it here. Download the ucalc.zip archive and click Install:


Once the files are extracted and the plugin is installed, click on the Activate the plugin button:

Connecting your uCalc account
Go to the Settings tab, choose uCalc and then click on the Connect account button:
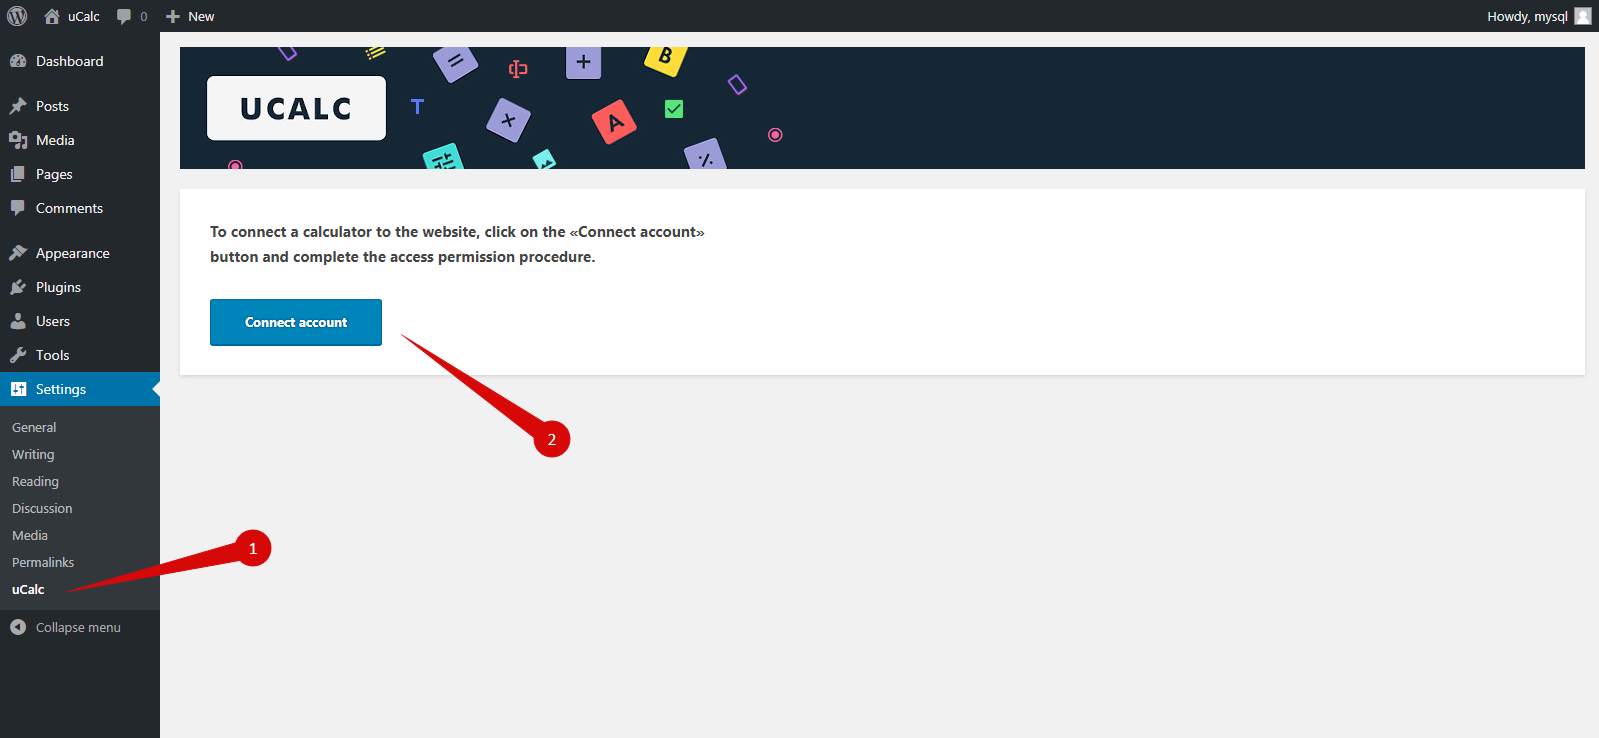
Connect your account to the WordPress website:

If you have an account, you don't need to do anything, the connection is automated. If you don't have an account yet, you'll be offered to create one:

Adding your calculator to the page
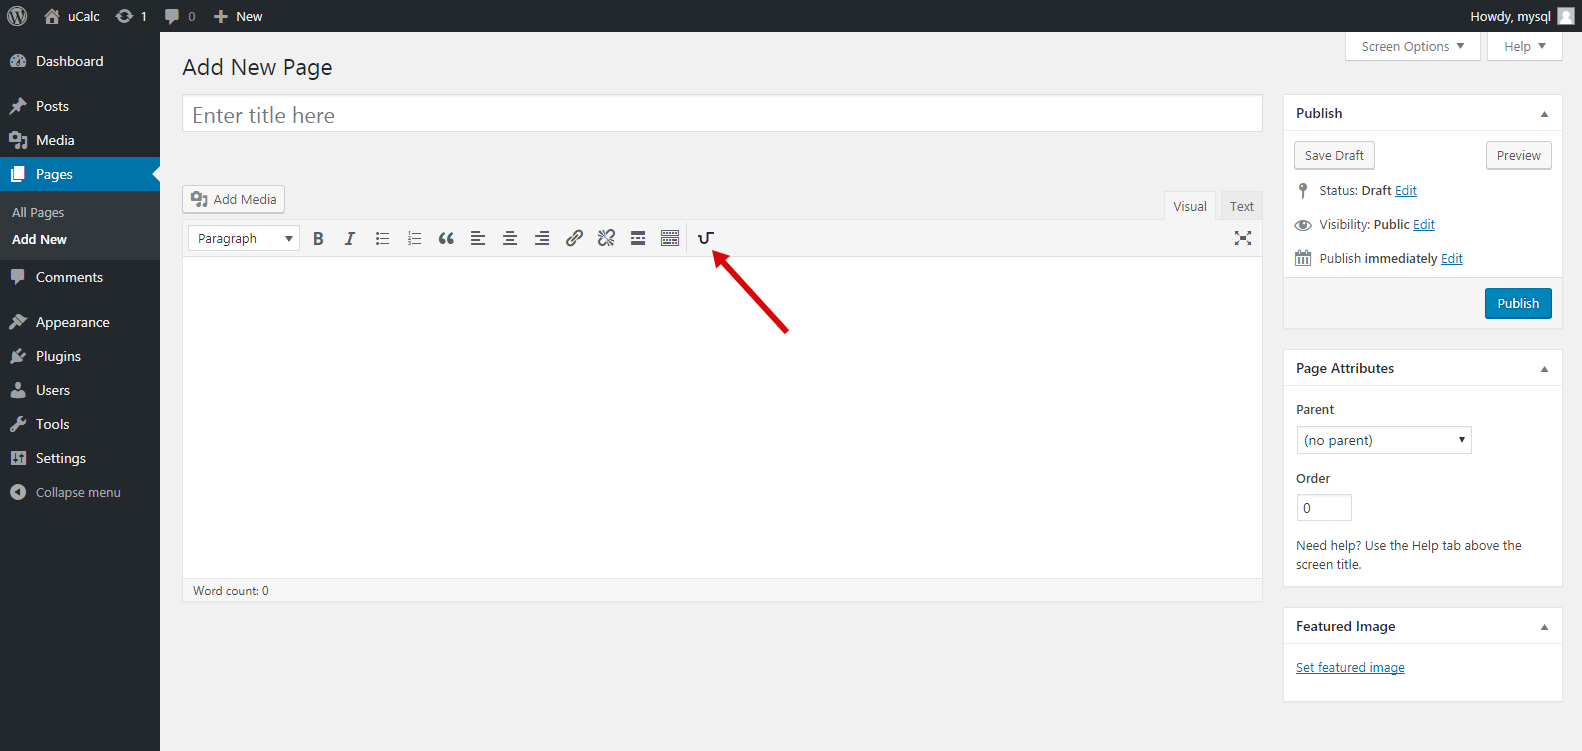
Go to the page where you can add/edit the page or entry and select the ucalc button on the editor's toolbar:
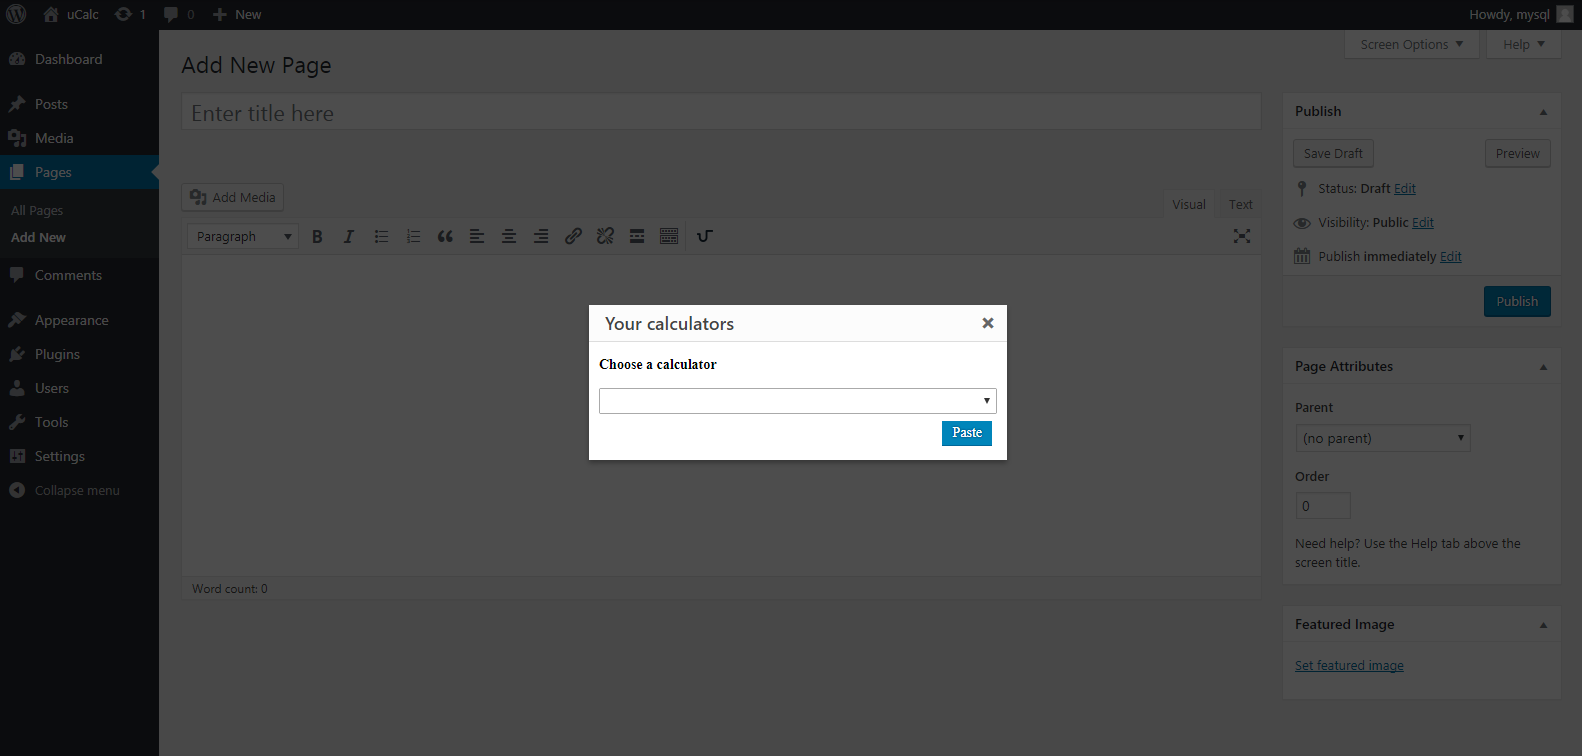
In the window that will appear, browse the list of your projects, choose one and click on the Add button:
The operator will be added to the editor to display your calculator:
