Attaching radio buttons and checkboxes to images
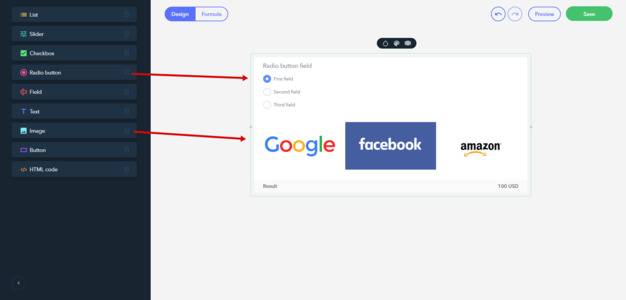
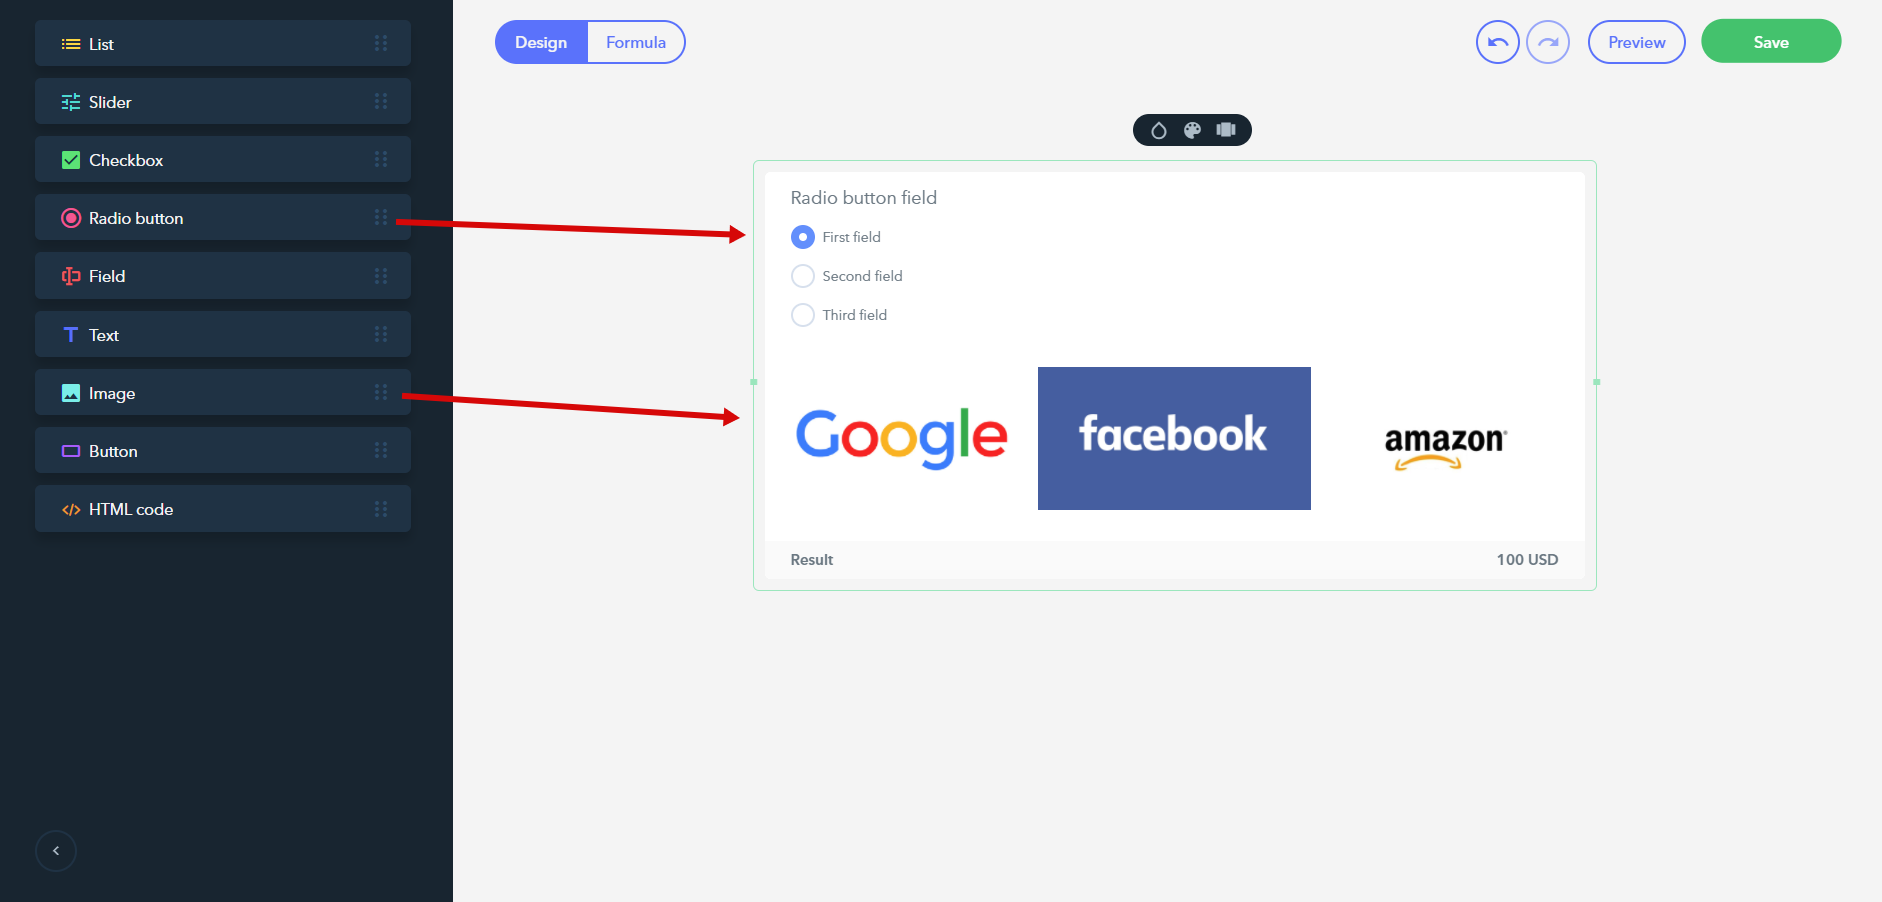
First, you need to add all necessary widgets to your form (Radio buttons / Checkboxes and Images):

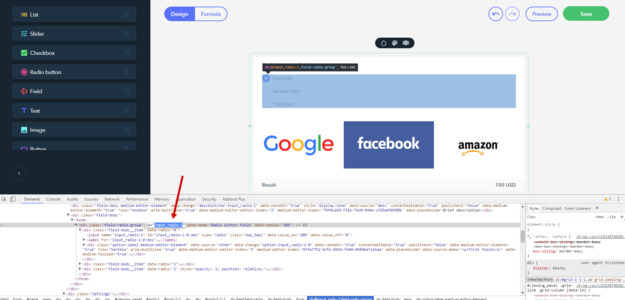
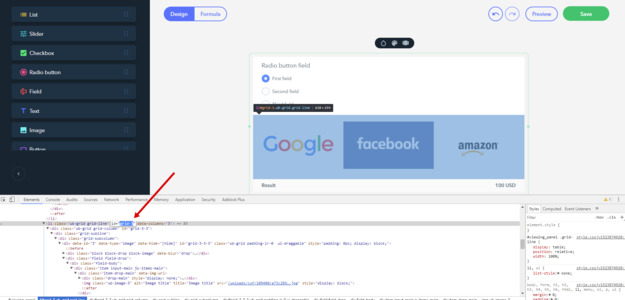
Now it’s necessary to learn the IDs of the attached elements: right-click each element and choose «Inspect», find the ID attribute for each of them and copy the number only:


Then, add 2 «HTML-code» widgets, one above and one below the form. Open the top widget and paste this code (N has to be replaced with the number copied at step 2):
<style>
#input_radio-N {display: block;} /* ID of the container with flags */
#input_radio-N > div {
 width: X%!important; /* Divide 100 by the number of elements (no more than 4 in a line) and specify this value in % here */
 display: inline-block !important;
}
@media screen and (max-width: 480px) {
 #input_radio-N > div {
 display: inherit !important;
 width: 100% !important;
 }
#grid-N label img { /* ID of the field where all images are contained */
 width: 300px;
 max-width: 100%;
 }
}
#viewing_panel .js-break_all [data-canedit=true], #viewing_panel .js-break_all [data-edit] {
 word-break: normal !important;
}
</style>
Save changes. After that, open the bottom widget and add this code:
<script>
$('label[for="input_radio-N-0-des"]').append($('#grid-N .ub-grid:first')); // // replace N with IDs of the elements in brackets
$('label[for="input_radio-N-1-des"]').append($('#grid-N .ub-grid:first'));
$('label[for="input_radio-N-2-des"]').append($('#grid-N .ub-grid:first'));
appNormalise();
</script>
If you use Checkboxes instead of Radio buttons, change #input_radio-N for #input_checkbox-N, and specify their Ids the same way described above.
If you are having a hard time installing the code, feel free to reach out the support team.
